I was asked to shop at Winn-Dixie and find some Rothbury Farms croutons and create a recipe with them. I love going to Winn-Dixie when they have their awesome Buy One Get One Free sale on meats. How can you beat that?
Also, Winn-Dixie has a gas club called FuelPerks. Every time you spend $50 at any participating Winn-Dixie using your NEW Reward Card, you earn a 5¢ per gallon discount on gasoline (up to 20 gallons) at participating gas stations.
While at was searching my Winn-Dixie for great deals I also tried finding the Rothbury Farms croutons but I had no such luck. I tried called 4 other stores in my area (even 14 miles away) but couldn't find one store that carried this brand of croutons.
I opted to purchase some Winn-Dixie brand croutons instead. Winn-Dixie makes 3-4 different flavors of their croutons but I already knew what I was going to make with them so I grabbed the Ranch flavor.
This Ranch Chicken I am going to make is crispy and full of flavor. Now I have changed up my usually recipe since I will be using the croutons but I assure you this chicken is amazing! Check out my Google + Story to see my full shop!
Start by putting some croutons in the chopping. The amount depends on how many pieces of chicken you are cooking. Maybe 1 cup for 4 whole chicken breasts.
I chopped them up pretty fine but if you'd like bigger pieces then of course don't chop it so much.
Add a packet of Ranch dressing mix.
You'll also need to add 1/2 cup of parmesan cheese. I forgot to take a picture of this step :(
Place your chicken in about 4 Tablespoons of melted butter (you can pre-season your chicken like my husband thought would be nice of him to do for me. Usually I don't season them though)
Coat with the crouton/cheese mix then cook. Be sure to leave the chicken for a few minutes without turning so you can get a nice brown crust.
YUMMMM!!
Using the Winn-Dixie Ranch Croutons were so easy and make the chicken taste so delicious.
Want to see more of my story? Check out my Google+ story here
DISCLOSURE: This shop has been compensated as part of a social shopper insights study for Collective Bias. All opinions and this chicken recipe are my own :) Enjoy!!
Showing posts with label recipes. Show all posts
Tuesday, November 22, 2011
Monday, November 21, 2011
Quick Snack with Tyson Mini Chicken Sandwiches #TysonGoodness #CBias
So last week I told you that I found these yummy new Tyson Mini Chicken Sandwiches, remember? I told you how I make Chicken Cordon Bleu!
This week I tried to think of a new recipe that I could make for when Makenna comes home from school. I decided on a super quick and easy Chicken Salad recipe.
I would love to tell you step by step measurements but to tell you the truth I didn't measure a thing since the sandwiches are so small and I didn't want a ton of the mix left over.
You can check out my shopping experience and more pictures on making this sandwich on my Google+ Story.
There are lots of options to make some yummy recipes with these sandwiches so try to think outside the box especially since Thanksgiving is just a couple days away. Maybe a quick snack while your Thanksgiving meal is cooking by adding some stuffing on top of the chicken? Sounds delicious to me!
Remember, right a LIMITED TIME only (Tyson only has 2000 of these) you can earn a $5 Walmart Gift Card when you mail in two UPC box codes and your Walmart receipt. These yummy babies aren't at all Walmart stores either so head over to TysonGoodness.com and search for the closest location to you where they can be found :)
This shop has been compensated as part of a social shopper insights study for Collective Bias. All the opinions are of mine and my family's #TysonGoodness #CBias
This week I tried to think of a new recipe that I could make for when Makenna comes home from school. I decided on a super quick and easy Chicken Salad recipe.
I would love to tell you step by step measurements but to tell you the truth I didn't measure a thing since the sandwiches are so small and I didn't want a ton of the mix left over.
To start I mixed together some mayo and sour cream. Add in a pinch of salt, pepper and rosemary. Then chop up some celery into small pieces. Cook your Tyson Mini Chicken Sandwiches (45 seconds, flip then another 45 seconds) chop up the chicken and add it to the Mayo mix. Stir it all together then put a nice spoonful onto the sandwich buns. Guess what? That's all! Easy after school chicken sandwich snack!
There are lots of options to make some yummy recipes with these sandwiches so try to think outside the box especially since Thanksgiving is just a couple days away. Maybe a quick snack while your Thanksgiving meal is cooking by adding some stuffing on top of the chicken? Sounds delicious to me!
Remember, right a LIMITED TIME only (Tyson only has 2000 of these) you can earn a $5 Walmart Gift Card when you mail in two UPC box codes and your Walmart receipt. These yummy babies aren't at all Walmart stores either so head over to TysonGoodness.com and search for the closest location to you where they can be found :)
This shop has been compensated as part of a social shopper insights study for Collective Bias. All the opinions are of mine and my family's #TysonGoodness #CBias
Tuesday, July 12, 2011
rainbow cupcakes
Okay so they look like regular cupcakes from the outside but oh no... these are GORGEOUS on the inside!
For the batter I use Duncan Hines Moist Deluxe. Technically I was suppose to use white cake but all I had was yellow. It worked perfectly fine though. And if you want to go ol' school on me and make your batter from scratch then go right ahead :)
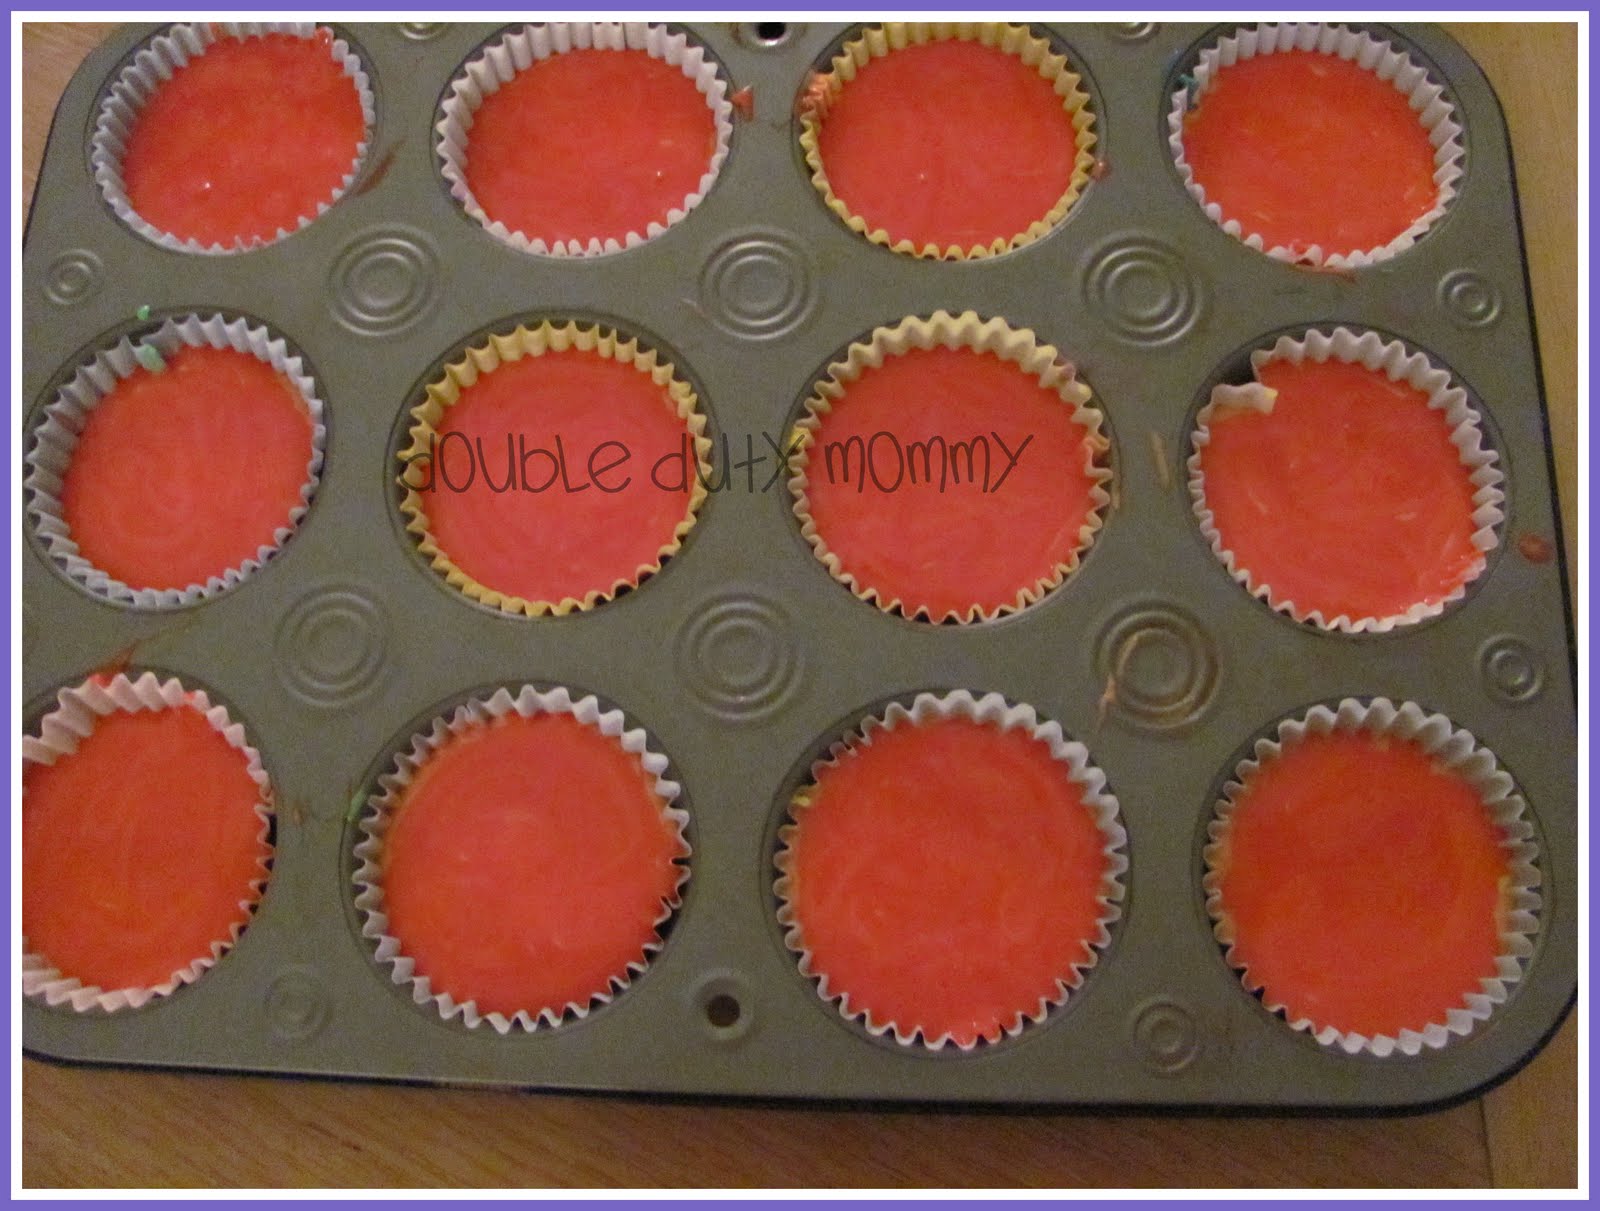
Starting with purple put about 1Tlbs of mixture into each cup. Make sure it's spread evenly. Continue next with blue, green, yellow, orange and then finally red. You're making a backwards rainbow so this way a prettier color is on top.
For the batter I use Duncan Hines Moist Deluxe. Technically I was suppose to use white cake but all I had was yellow. It worked perfectly fine though. And if you want to go ol' school on me and make your batter from scratch then go right ahead :)
I failed and forgot to take a picture of the most important ingredient - Apple Sauce. Yep!
So the box directions say 1/3 cup oil but instead substitute the oil for apple sauce instead ok.
So I added 3 eggs, 1 1/3 cup water to the bottom of the mixer, then the cake mix and finally apple sauce on top. The other wet ingredients go in first so the cake mix doesn't get stuck to the bottom :)
After a LOTTTTT of mixing. Seriously, don't just mix for a 1-2 minutes and call it a day. Make your batter fluffier for slowly mixing then speed it up till almost the highest setting till you get to the highest speed then beat for about 5 minutes! I use setting 8 on a kitchenaid mixer.
While the batter is mixing THEN preheat your oven to 350*
Once it's done mixing, evenly divide up the mixture. This takes a while and was really messy. I used ziploc baggies but you can use plastic cups or paper bowls instead so it's less to clean up as well. I use the baggies so I can cut a hole in the corner and evenly coat the cupcake tins.
So as you see I then added food coloring to make 6 colors of the rainbow. Add as much or as little to make your own desired tint of color. Purple kinda looks like crap but in person it is really purple, not the nasty purple, blueish, brown color in the picture. Oh and I Indigo is missing but that's ok :)
With each layer just go slow and again, make sure it's even and try not to mix the colors.
On my oven I bake for EXACTLY 20 minutes. no more and no less. I don't even put a tooth pick in to check on them.
Once they are out take out of the pans right away and cover a little bit to cool. I half way cover them so some steam comes out but as you see by the lid I want most to stay in so it helps keep the cakes moist.
I use a store bought thing of white frosting but I like to whip it up in the mixer so it's fluffier and smoother.
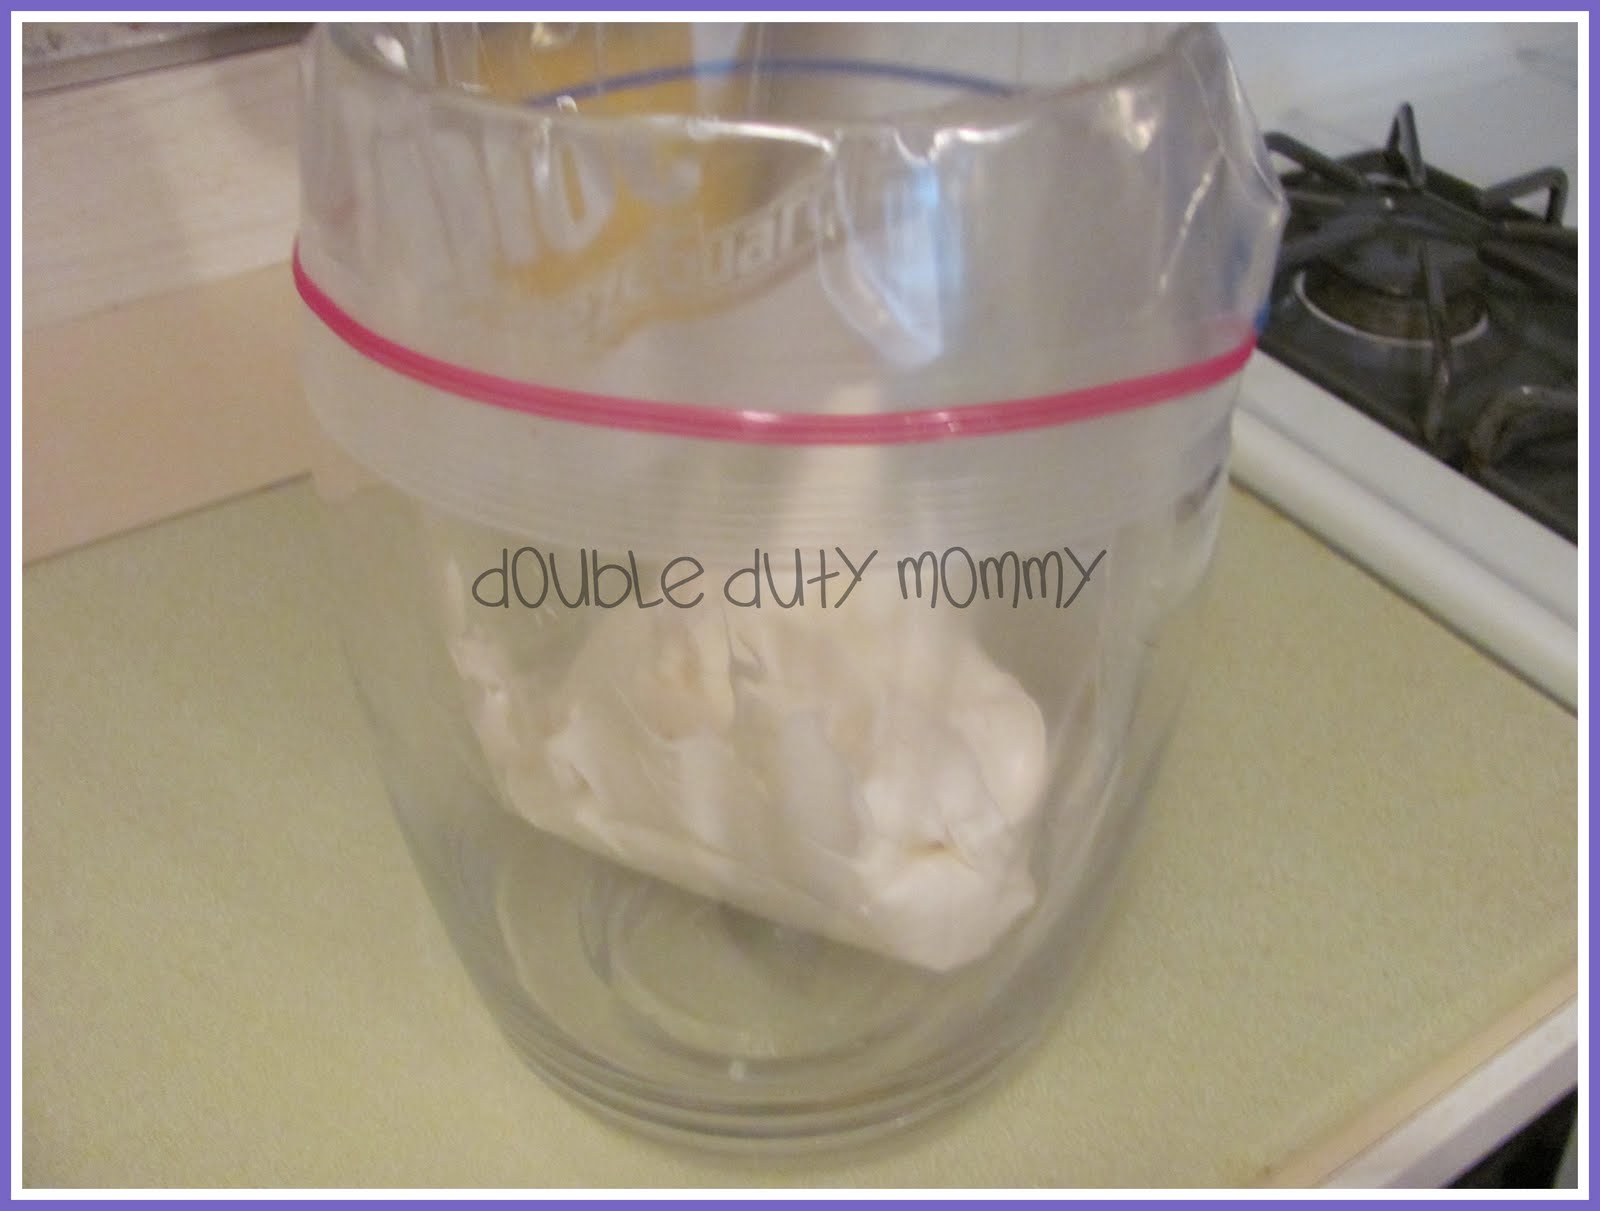
To frost the cakes I put the frosting in a bag and cut the tip off. Unless you have a 2nd person to hold the bag for you then you can use my trick. I wrap the bag around a huge open vase and once it's filled it can easily come off with the frosting at the bottom and not on the sides.
Aren't they amazing! Believe me, the colors are much brighter in person.
Also, I'm not sure why but the colors from the bottom came up and over to the top while cooking. I don't know why but it looks cool none the less.
INGREDIENTS:
- White or yellow cake mix
- 1/3 cup apple sauce
- 1 1/3 cup water
- 3 eggs
- food coloring
- sprinkles
- mix batter for 5-6 minutes
- preheat oven to 350*
- divide batter into 6 cups/bowls/baggies
- add food coloring: red, orange, yellow, green, blue and purple
- add 1tlb of each into each cake tin evenly making layers on top of each other
- bake for 20 minutes, then remove from cake pan and cool in covered place for 1/2 hour
- Fluff store bought frosting in mixer if desired then pipe on cakes
- top with sprinkles or candies!
Subscribe to:
Posts (Atom)